Python Hello World
This document walks you through the process of setting up your first application in Pergola, using the Pergola Console UI.
Preparation
What you should already know:
- How to write and execute a simple Python script
- Commit and push with Git
- Have heard of Docker or Containerization
What you need:
- Docker (https://docker.com) runtime configuration for your Project
- Git account (e.g. https://github.com)
- Access to Pergola platform and a personal account
Step 1: Have a Hello World application ready
As a simple starting point, we will create a Hello World App in Python
import time

if __name__ == "__main__":
    print("                   Hello, world!")
    time.sleep(2)
    print("[2 seconds later]  Nice view, let's look around for a few more seconds.")
    time.sleep(10)
    print("[10 seconds later] Goodbye, world.")
Save this as hello.py in a new and empty directory.
If you run it with 'python hello.py', you should see:
> python hello.py
                   Hello, world!
[2 seconds later]  Nice view, let's look around for a few more seconds.
[10 seconds later] Goodbye, world.
>
Conclusion
- We have a running application
- We can execute it
- It works on our machine!
Notes
Any other technology, e.g. Kotlin, Java, R/Shiny works as well with Pergola. But this article is about Python.
Step 2: Containerize your application
Create a Docker configuration to describe what your application needs to be executed. This is a one-time process that makes sure your application can run everywhere, not only on your pre-configured development environment (e.g. your laptop )
For Hello World, we just need Python. Please create a file called Dockerfile in the same directory as hello.py.
FROM python:3-alpine

WORKDIR /usr/src/app
COPY ./hello.py .
CMD [ "python", "./hello.py" ]
In the Dockerfile above, we define that:
- we need Python ( version 3, coming with a minimal surrounding operation system identified by 'alpine' )
- we have a directory inside the container to put our source code to ( path is not important here, that's just in the bowels of Docker and Pergola for now )
- we make hello.py available by COPYing it
- we execute hello.py
Note: If you have not installed Docker yet, please follow the instructions here: https://docs.docker.com/get-docker/ before continuing.
Now, let's execute it locally in Docker to make sure it works!
docker build . -t pergola-python-helloworld

docker run -it pergola-python-helloworld
We build the Docker image first and then execute it. Of course, we see the same result as before. The full output of building and running looks like this:
> docker build . -t pergola-python-helloworld
Sending build context to Docker daemon  12.29kB
Step 1/4 : FROM python:3-alpine
3-alpine: Pulling from library/python
213ec9aee27d: Pull complete
6b2a141cd227: Pull complete
20e8f1c91cae: Pull complete
20828db47e2e: Pull complete
dfb6e0c037c9: Pull complete
Digest: sha256:6015c8fd6d6c1acf529f8165c51e35172a2a8aa1a8fa72d7d2e0e3ce1700739a
Status: Downloaded newer image for python:3-alpine
 ---> 4da4c1dc8c72
Step 2/4 : WORKDIR /usr/src/app
 ---> Running in f78473b7dd35
Removing intermediate container f78473b7dd35
 ---> b6354a483bfb
Step 3/4 : COPY ./hello.py .
 ---> a6897016005b
Step 4/4 : CMD [ "python", "./hello.py" ]
 ---> Running in d0ab280abfc0
Removing intermediate container d0ab280abfc0
 ---> 62331babbc13
Successfully built 62331babbc13
Successfully tagged pergola-python-helloworld:latest

> docker run -it pergola-python-helloworld
                   Hello, world!
[2 seconds later]  Nice view, let's look around for a few more seconds.
[0 seconds later] Goodbye, world.
>
Conclusion
- We have defined the execution environment for our application
- It can run everywhere now, on servers, clusters, clouds etc. ( Given Docker is there.. of course )
Step 3: Create the Project Manifest file
Create a pergola.yaml file to define the components including their Build and runtime requirements.
For Hello World, we just need a single component that runs our script. The corresponding pergola.yaml could look like this:
version: v1

components:
  - name: hello-world-runner
    docker:
      file: Dockerfile
    resources:
      cpu: 100m
      memory: 0.1Gi
    scheduled: "@release"
In the pergola.yaml above, we define that:
- we have a Component named
hello-world-runner - it runs based on the 'Dockerfile' (the one we created in step 2)
- it needs minimum resources, one-tenth of a CPU and 102 Megabytes of RAM
- It is executed once after deployment (
@release)
You can validate your pergola.yaml file with the Pergola CLI, i.e.:
pergola validate manifest pergola.yaml
Conclusion
- We have defined the infrastructure we need for our application
- Now, Pergola can build and run the application completely automated
Step 4: Publish the Hello World app in GitHub
The Hello world app should now consist of 3 files:
- hello.py
- Dockerfile
- pergola.yaml
To make it available to Pergola, we need to publish it in a git repository.
Create a new repository on a publicly available git-provider (e.g. GitLab, GitHub). Commit and push your Hello World project. For github.com, a howto can be found here: https://docs.github.com/en/get-started/quickstart/create-a-repo
Conclusion
- Our application is professionally managed by a version control system
- Pergola can start taking over with building, deploying, operating, etc.
Step 5: Set it up in Pergola
The last preparatory step is to register the Hello World App in Pergola.
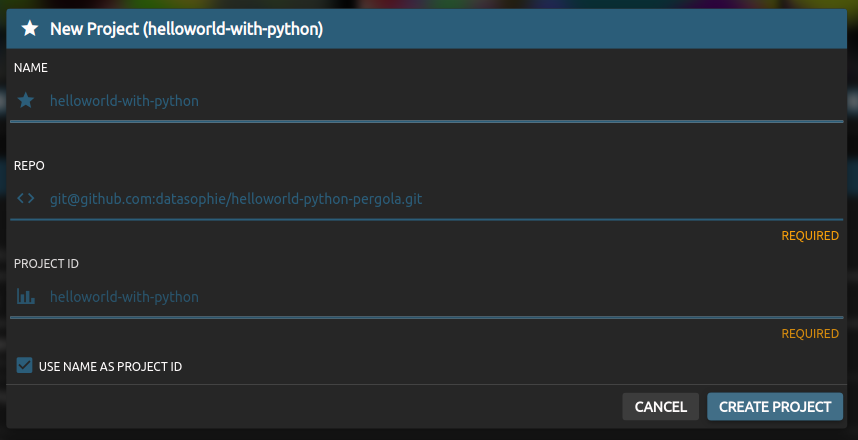
First, create a new Project.
Click on 'New project'

Fill the form. You will need your git clone URL and you can assign a name to it.
Second, create a new Stage Click on 'Create Stage'
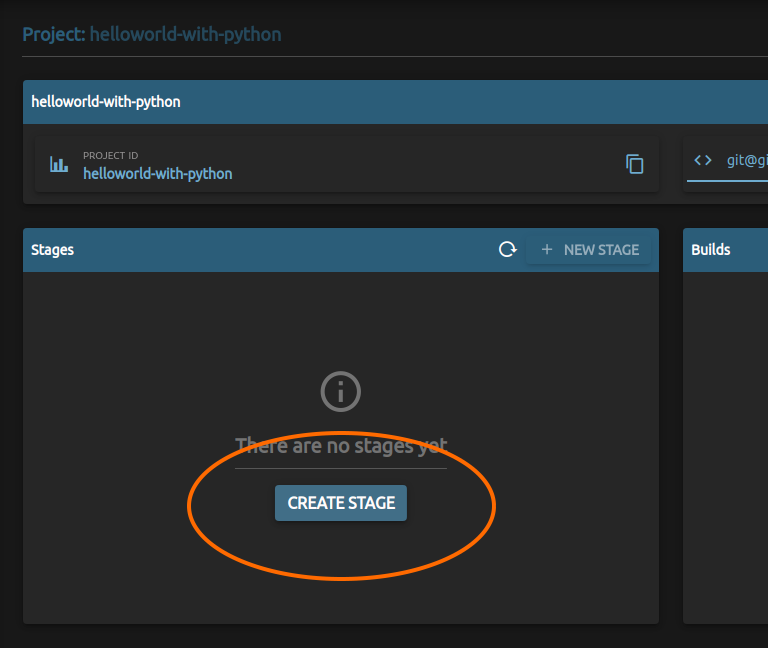
Fill the form. Choose a Stage name and choose type 'dev'

This is all that's necessary to get started.
Conclusion
- Pergola has been connected to your application permanently (via the git-URL)
- You have a Stage where your application can run.
Step 6: Build and run
All preparations are done. Now, we want to run our application in Pergola.
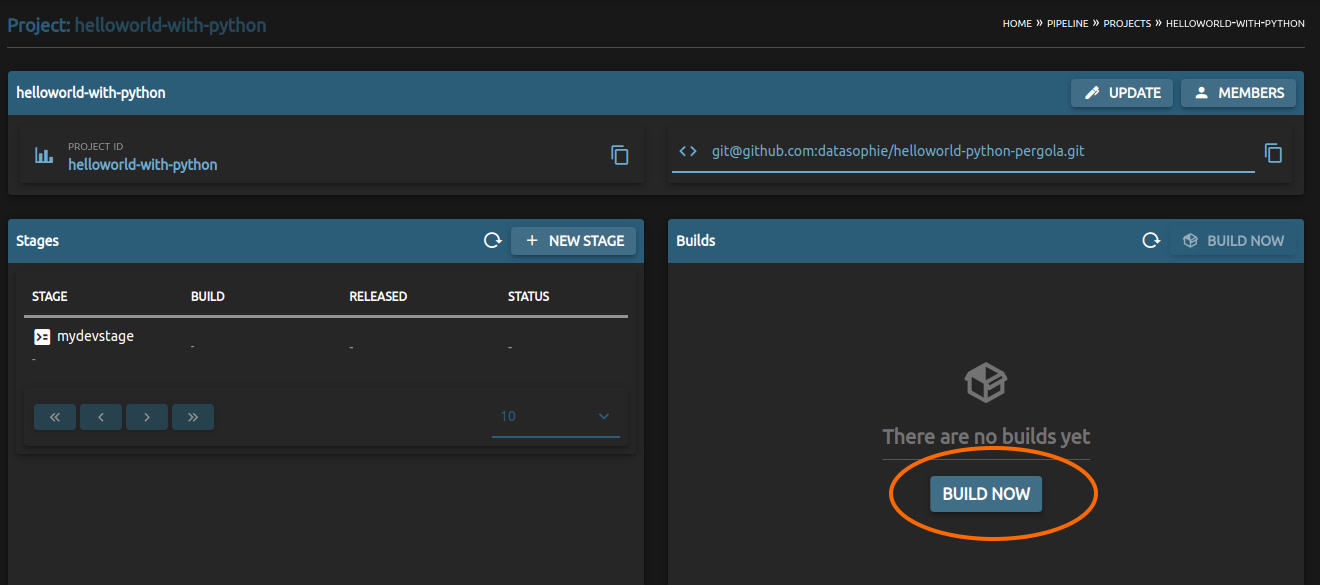
To run the application, it first needs to be built.
Just click 'Build now'
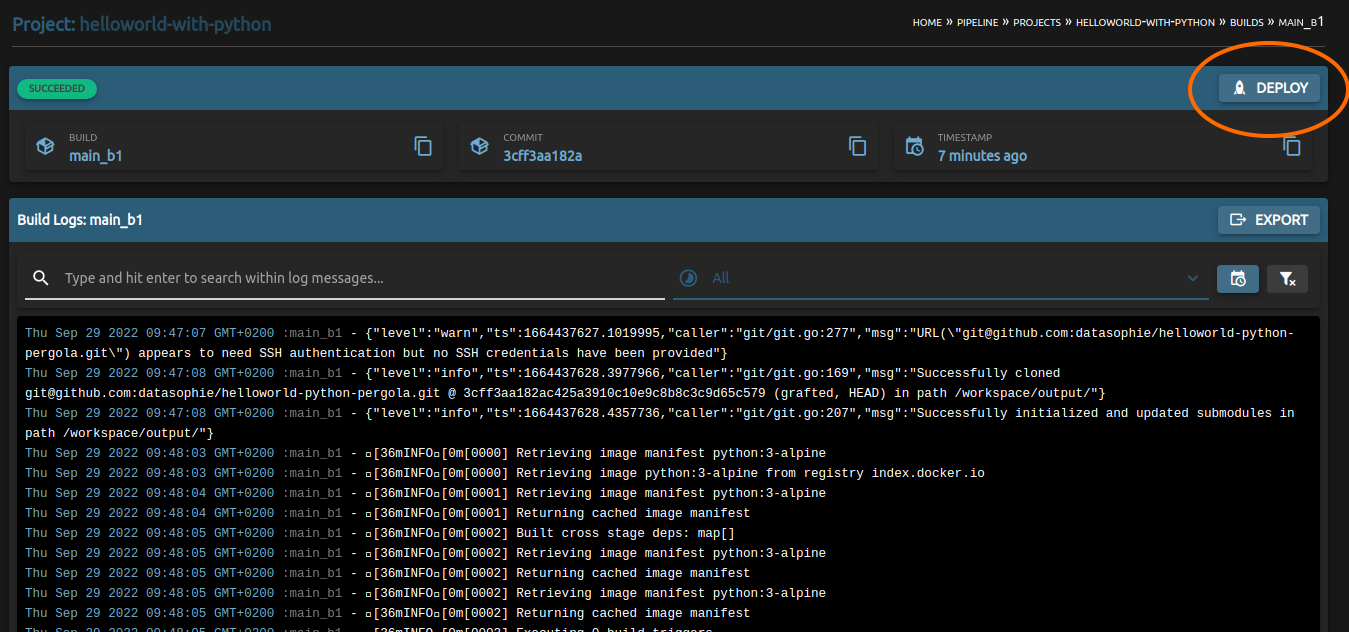
It might take a minute or so, but you should see a new succeeded build. Click on it!
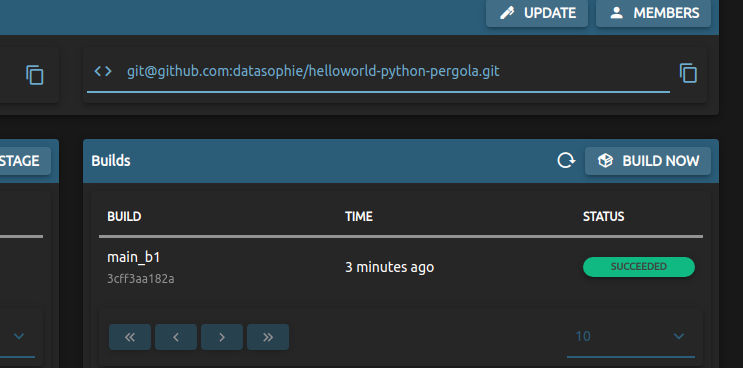
This leads you to the Build detail view where you could do troubleshooting with the Build logs. For now, click 'Deploy' to get the built app version running.
Select the Stage and affirm the deploy by clicking 'Continue'

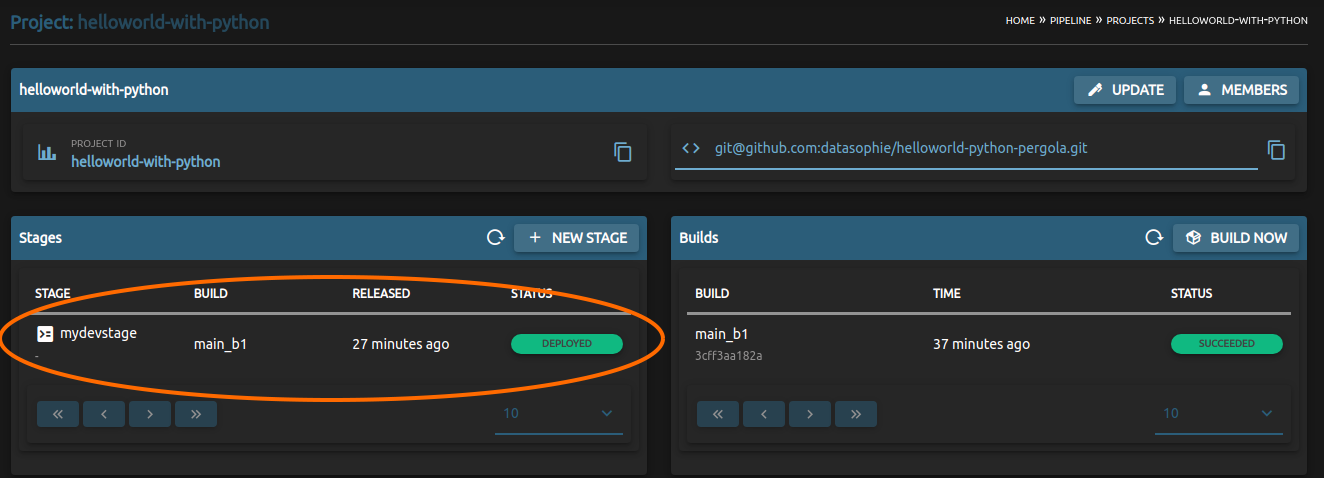
Congratulations, the Hello World application is running now. To take a look at it, navigate back to your Project view and go to the Stage detail view
There, you see the single component we declared in pergola.yaml named 'hello-world-runner'. You can click on the logs-icon on the right to see your Hello-World-Output
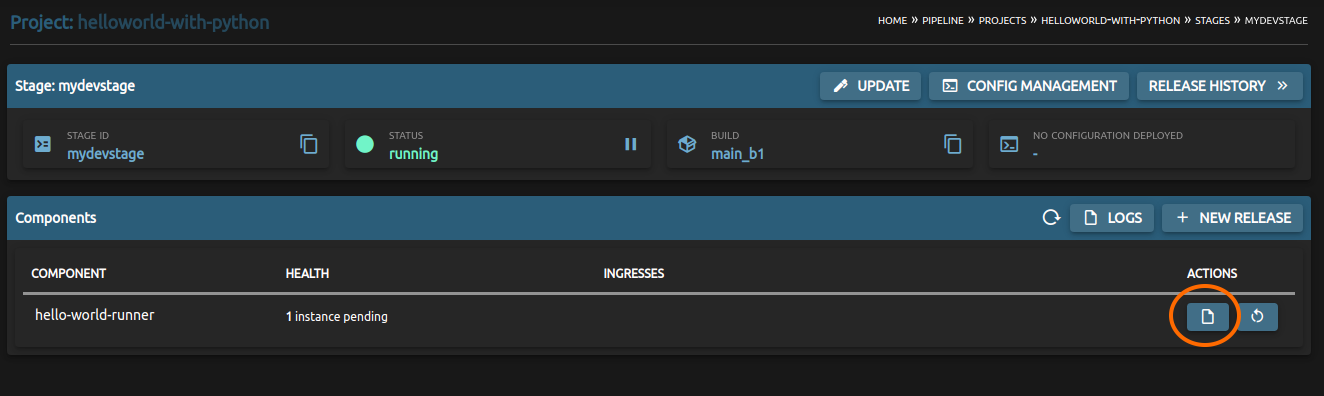
There it is.

Conclusion
- You successfully created and deployed your application on Pergola.